


Setting up your Spot-On sundial so that it reads accurately
The instructions and pictures below refer to mounting the plinth on a level paving stone. If you are certain that you will not want to move the sundial to another part of the site later, it is preferable to cast a small slab of concrete of around 6 in. depth and rather wider than the plinth, and use this in place of the paving stone. This will ensure that the plinth does not get misaligned in the future due to underlying soil movements.
Before fitting the gnomon to the dialplate, please check that there is no grease or oil on the tenon which fits into the dialplate, and that there is no debris caught in the air gap between the two plates. It is advisable to clean both areas with a tissue soaked in lighter fuel to be certain of this, in order to avoid marks on the dialplate.
The sundial needs no maintenance apart from cleaning. Never use any kind of manufactured cleaner - they will all put scratches on the stainless steel surface. A very soft cloth and warm water is the best method. With any stubborn marks, use lighter fuel with a soft cloth. Most marks will eventually wash off in the rain anyway.
Details of the dimensions of the baseplate and its fixings are given here.
- Lay a paving stone larger than the base of
the plinth in the ground in the desired position. (Bedding the
paving stone in sand makes it easy to level) Level it as accurately
as possible. (The East-West level is particularly important for
accuracy of the dial)
- Attach the sundial to the top section of the plinth. In a very protected
setting, it is easiest to do this with a modern contact adhesive, but
this is not completely secure since it is possible to detach the sundial
from the plinth with a sharp-edged screwdriver or similar. In other cases,
please refer to our drawings of the undersides of the 42
cm. sundial and of the 30 cm. sundial
- Lay this top section of the plinth on the
paving stone
- Look up the exact time of solar noon in the
table provided (Remember to add 1 hour if BST is in operation)
- At this time, rotate the plinth and sundial
so that the line of light falls exactly on the line bisecting
the circle at the noon point on the dial plate. (A good check
on this is that the shadow of the gnomon covers most but not all
of the circle. The two arcs of the circle still in sunlight should
be of exactly equal size)
- Hold a flat board resting on the paving stone,
and also against an edge of the plinth. Make sure it is accurately
vertical. Mark the outer edge of the board with spray paint or
marker pen.
- Repeat with the other 3 edges.
- Lift the plinth top off the paving stone.
- Put the plinth base on the paving stone,
and line it up between the lines marked (see 7 and 8 above)
- Using an 8 to 1 sand/cement bedding mortar,
apply mortar all round the base to ensure that it cannot be twisted
out of alignment.
- Use the same mortar to attach the body of
the plinth to the base
- Align the plinth top so that its edges are
in exactly the same direction as the base.
- If you are at all doubtful about the alignment
of the base, wait for the next sunny day and check that the line
of light falls exactly centrally (as in 6 above) at the time of
solar noon on that day.
- Fix the plinth top to the plinth body using the same mortar mix
These photographs show the sequence of operations involved in setting up the Spot-On Sundial in stainless steel. You need to print out the Solar Noon calendar for your exact longitude before you start. You should be particularly careful about the levelling in the east-west direction; errors here have twice the effect on the accuracy of the sundial as errors in the north-south direction.
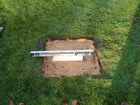
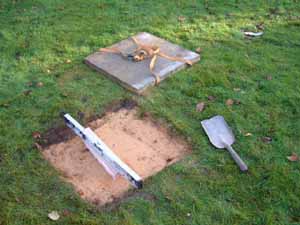
 Cutting a square hole in the turf, slightly deeper than the paving stone, so the grass will grow over it |
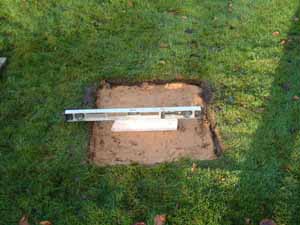 Fine dry sand is spread |
 and levelled |
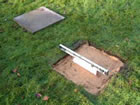
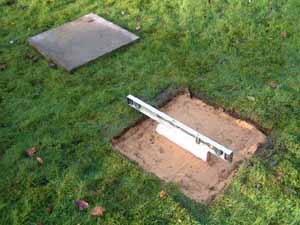
 A sling is fitted to the paving stone |
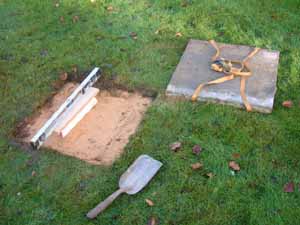 so that it can be carefully placed |
 on the levelled sand without disturbing it |
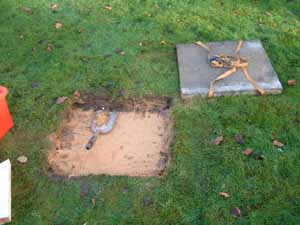
 It is surprising how many times a little more sand has to be added to one side |
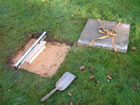
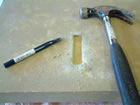
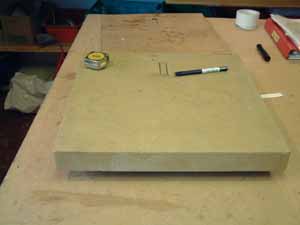 Meanwhile, the top of the plinth is marked out with the slot to receive the base of the gnomon |
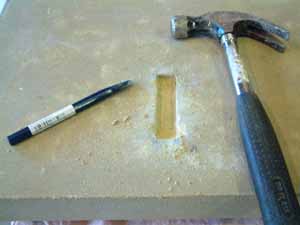 and the soft sandstone slot is chiselled out |
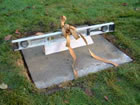
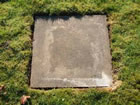
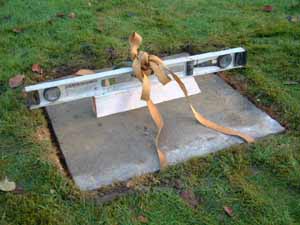
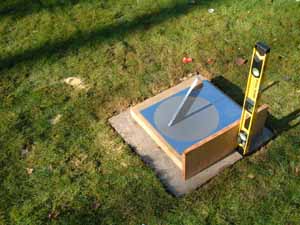
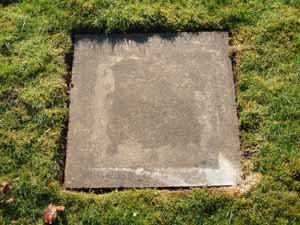 Returning to the levelled paving stone |
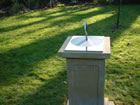
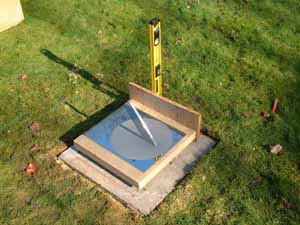 the sundial is fixed to the top of the plinth, which is placed directly on the paving stone, and the level is again checked |
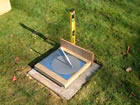
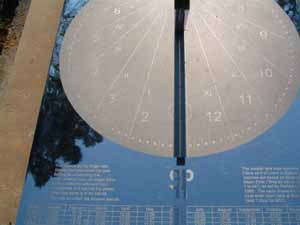 At the exact time of solar noon, the sundial and top of the plinth are rotated till the line of light appears |
 and a pencil line is drawn on the paving stone - this is the true medidian (north-south) line |
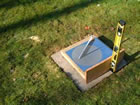
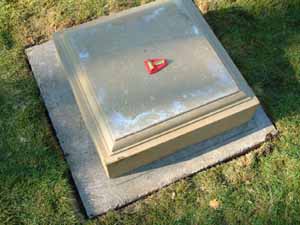 The bottom section of the plinth is then placed on the paving stone, lined up accurately with the pencil line, and cemented into position. |
 Then the middle section of the pointh is placed in position and cemented in |
 and finally the top section similarly |
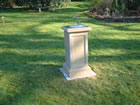
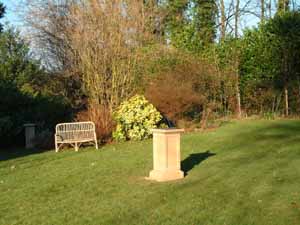 and then the sundial is permanently fixed |
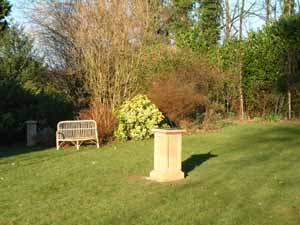 and looks as if it has always been there |